Generating OneFS Software Keys


Generating OneFS Software Keys

Software License Keys on Isilon’s OneFS

In the past we covered how to use the different software packages in OneFS, but how do you generate the license keys? OneFS 8.1.x changed the ways temporary licences keys were generated. Previously, Isilon users had to reach out to their local Systems Engineer to receive temporary license keys. Now OneFS license keys can be generated from the OneFS WebUI or CLI.

List License Keys

$ isi license list

Add OneFS License Keys

$ isi license add --evaluation=SYNCIQ

Watch the video below to find out how to generate OneFS License keys from the CLI and WebUI.

Transcript – Generating OneFS Software Keys

Hi folks! Thomas Henson here with another episode of Isilon Quick Tips. In today’s episode, I’m going to walk through how to get some tests and temp evaluation license all from the Isilon simulator as we walk through building out my cluster.

Today, let’s get started walking through how we can manage temp license. I’m using 8.1.0.2. I thought it was a good time, as we walk through, you can see pulling up my snapshots. I have to rebuild out and get my temporary license key. I’m all running this from the simulator. Traditionally what you had to do was you had to have a specific number. You had to reach out to your SE, who would go through and send over numbers, so I had a lot of customers that I worked with, that woul say, “Hey, you know, I want to test out snapshots,” or maybe I want to test out SyncIQ. You needed to send over a license key. Now, it’s fully automated from OneFS. Let’s step through and see how we can do this from the web CLI, and also, let’s do it behind the scenes and jump into the CLI.

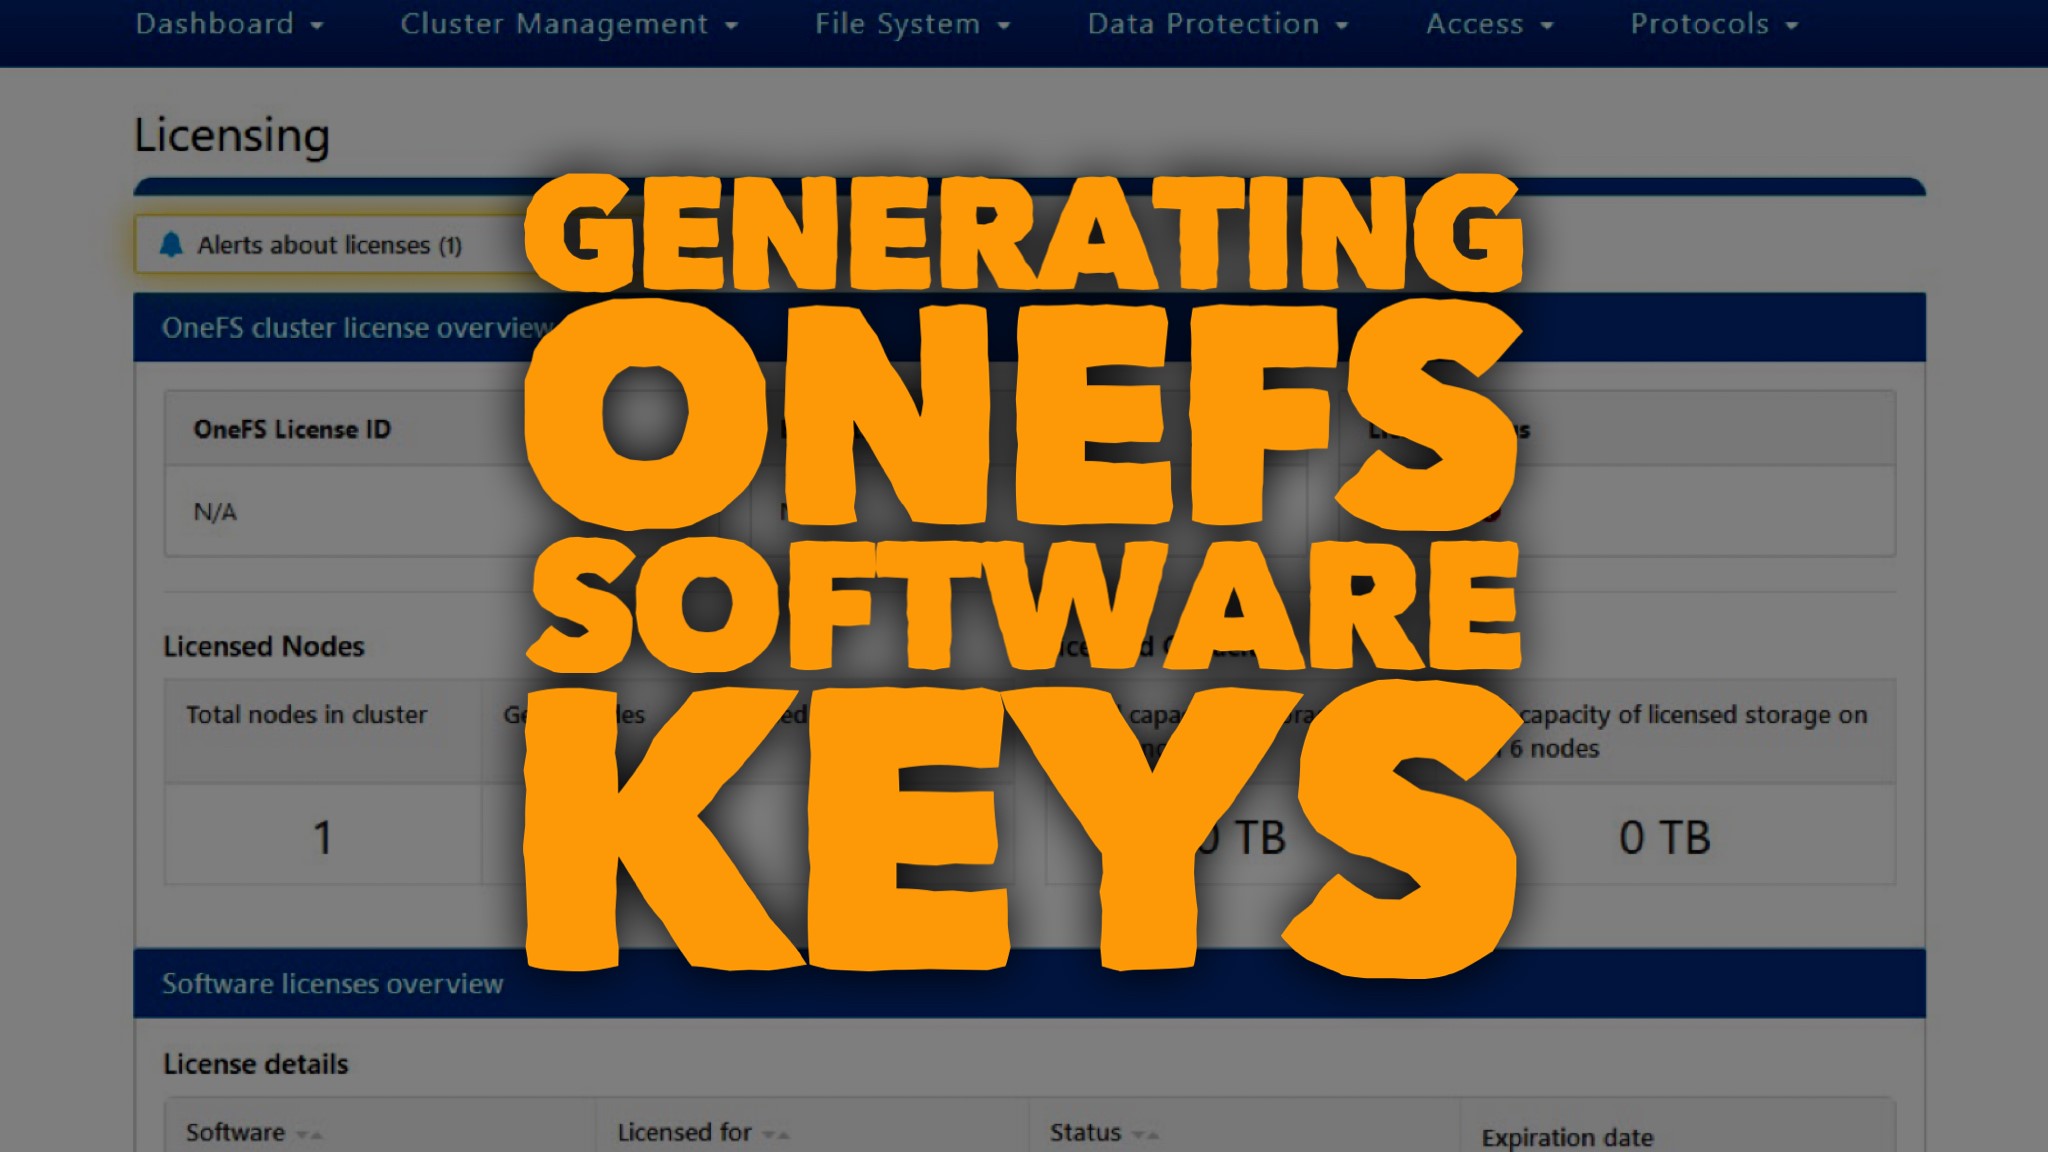
You can just go in here, to this license. You see it’s OneFS/license. It gives you all the information you’ll want to know about how you have and manage license in your cluster, whether it’s in your simulator or whether it’s in your own production cluster environment here. You can see the expirations on them, and you can manage having temporary license, and then also your specific keys. For this one, I’m just going to show how to enable different licenses. You can see this cluster here. I don’t have any, right? Now, it’s time for me to get one.

Let’s grab maybe smart quotas and snapshot IQ. We’re going to do that all from here. It’s going to roll down in here, manage our trials. Very simple. Look at this. Snapshots, smart quotas. Boom! Got our evaluation license. We’re going to close that out. You can come back in here and see, hey, we have for our smart quotas and snapshot IQ, I’m only running one node here, but I’ve got those enabled. How can we do these from the command line?

Logged in to the CLI here in my cluster, and I’m going to use this ISI license. Let’s just see. We can see, let’s do the list, right? We see just what we’re looking at. I’ve got my smart quotas and I’ve got my snapshot IQ. What happens if I wanted to do it for SyncIQ and want to do it from the command line? Go back into ISI license. Then, this time, we’re going to add, and then it’s evaluation. Evaluation. We want SyncIQ. After we read through and say yes to our license, let’s go back and look at that list. Boom! You can now see that we have SyncIQ enabled on our cluster. That’s how we can do it from the command line just using ISI license add and then evaluation for the different specific software bundles we want. Or, from the web CLI, we can just come in, and let’s do a refresh here. You can see, yes, we actually have SyncIQ in here, but if we wanted to add more, it’s just as simple as clicking in and evaluating those licenses. Gives you the opportunity to try out new different packages. Especially if you’re doing it from a simulator, where you’re maybe doing a POC, you want to test some things out, boom! Just go through, add it in there, and be able to manage those trials.

If you have any ideas for any Isilon Quick Tips, put them in the comment section here below. That’s how I find out what videos I’m going to do next. Also, make sure you subscribe and ring that bell, so you never miss an episode of Isilon Quick Tips or Big Data Big Questions. Thanks again.

Isilon Quick Tips: Compare Snapshots in OneFS

Compare Snapshots in OneFS
How to Compare Snapshots in OneFS

At least once every Isilon Administrator will need to compare snapshots in OneFS. It might be a situation where a user has upload files to the wrong directory or you need to roll back to a different version of a directory. Whatever the case OneFS has the ability to compare snapshots from the CLI>

In this episode of Isilon Quick tips I will walk through using the CLI to view and compare snapshots in OneFS. Watch this video and learn how!

Transcript

(forgive any errors it was transcribed by a machine)

Hi and welcome back to another episode of Isilon quick tips! Today we’re going to talk about how to compare some snapshot images all from the CLI find out more right after this.

In this episode what we want to do is we want to look at some snapshots and see how we can compare these snapshots.  So you can see here from the Web CLI I have a lot of snapshots but if I wanted to compare them how can I do that?  Look do all that from the command line so  SSH back into our cluster.

The first thing we’re going to do is we’re going to list out all of our snapshots you can see that all of our snapshots are here so all my snapshots are on this ifs NASA directory and you see that I have an ID here that specifies each one and then also I have a default name here for the snapshot schedule name and so if we wanted to compare a couple of these so what is the difference between our first snapshot so ID two and let’s just say that we wanted to compare it with ID 20 what would be the difference between those two and so there’s a way that we can actually compare that the first thing we want to do is let’s just look and see what information is available if we just view that individual ID number so we can use our easy snapshot snapshots view and then just put in the ID number you can also put in the name but I have a default name that’s very long so it’s just easier for me with managing the smaller data set to just use that ID number so let’s see what information is available here and so it gives us our path and our name it’s also going to tell us how much space is holding up and when the snapshot was created if it’s law or if it’s going to expire but there’s not a lot of information in telling us what’s actually in it right because it’s just a snapshot of a point in time and so how do we compare this so we want to take our snapshot ID number two and let’s compare it to number 20 and see what data has changed and so to do that we’ll be using a change list modification but to do that we’ll have to kick off a job to start it so I’m going to clear out the screen and let’s type in our easy job and so what we’ll do is we’ll do an easy job jobs start and we’re going to create a change list and so that’s changed list we’re going to put in the old snap ID so the old snap ID was two and we’re going to compare it with our newer snap and so the newer snap ID was 20 so we started the job and so if we wanted to go out and list it out let’s go ahead and view our change list so we use easy change list modification and we’ll just use L to list out all our change lists we have a change list here for to underscore 20 and so this is going to be the change list that we just created that’s comparing ID 2 and ID 20 sometimes you’ll get an in progress at the end and that’s just because the job is still processing and so you can’t view it just yet so just come back and check in a few different times but it looks like our jobs complete here so we can view those so to view it we’re just going to use – a instead of L and that ID number so to underscore 20 so easy change list mod – a to underscore 20 so we have a lot of information that’s compared in this change modification between snapshot 2 and snapshot 20 one of the big things is we have two files that were created here that I was looking for so this is NASA I uploaded a facility’s CSV then I also uploaded a report CSV and so you can see some of the timestamps or some of the other information but if you’re looking at this information you’re saying man this it’s kind of hard to look at what’s really the objective here well this is a way that we can look and look at this change modification date from the CLI but for the most part this is really used by some other applications order through the Isilon onefs api to be able to pull that information out so if you’re looking to write some kind of process that’s going to look and compare these changes to move some of the backups then you would use this so the best way to look and see what all these different CLI flags and some of these path names are is to go back and look at the Isilon documentation so if you look at the Isilon documentation you can see what all these flags mean here so that if you’re writing some kind of code or some kind of application that’s using the API to kind of do a backup process or something like that then you can use this information here but if you’re just looking quickly on how you want to see what changes happen between two different snapshots you can definitely just use this and pull out some information like I said the biggest thing for me is I wanted to see the different path names so I wanted to see were there any files that are different in snapshot two versus snapshot twenty and we’re able to see that here be sure to subscribe so that you never miss an episode of Isilon quick tips and see you next time [Music]